My design process
Coming up with a new design can be time consuming, I have been known to spend days, even weeks on one design until I'm happy enough to release it.
There are many occasions when a design never sees the light of day, simply because I'm just not happy with it. However, in this post, I'm going to focus more on the steps I go through to come up with and even complete a design, and release it.
Tools:
The main things I tend to use when coming up with designs are:
- iPad (with pencil)
- Laptop
- Procreate (iPad) I find this to be good for working on rough designs
- Illustrator (iPad and Mac) When it comes to working on the final product I tend to move to Illustrator, it has a tonne of features that are useful for finishing a design, and I can switch between the iPad and my laptop depending on what I want to do.
1. Concept
As with most things a new design starts life in the depths of my brain as an idea, generally, I can see the idea in my mind, the hard part is bringing it to life. So once I have an idea I go through a few steps:
- Do some research to make sure I'm not just remembering someone else's design (Unfortunately there have been occasions where someone else has come up with a very similar or same idea while I'm working on a design!)
- Look up some reference material, for example, if I'm working on a character design I might want to find something that has the same pose I want to use, if they're holding something I might want to either take photos of myself holding a similar item in the way I want them holding it, or look for photos or sketches of the same thing online.
- Start doing some rough sketches, sometimes I might end up doing more rough sketches than anything else.

2. Rough designs
Now that I have a couple of very rough sketches (or sometimes loads of rough sketches) it's time to start working on it for real.
This is where I go over the original rough sketch making my lines more defined. Sometimes this will take a couple of passes using different colours on different layers to differentiate one version over another until I am happy with the outcome.
If you look closely at the image below you can still see the original pencil lines from the sketch in the image above.

3. Add style and definition
So far I've been focussing on just getting the lines how I want them, but now that I'm happy with it it's time to bring the design to life!
To do this I first save a version of my linework from Procreate and import it into Illustrator. From here I then lower the opacity of the imported image before beginning to first redraw the lines using the styles that I want.
Next, I add some base colours, these are usually just the flat colours for the different areas. Once I'm happy with the base colours, I start to add highlights and shading to start to give the design more depth.

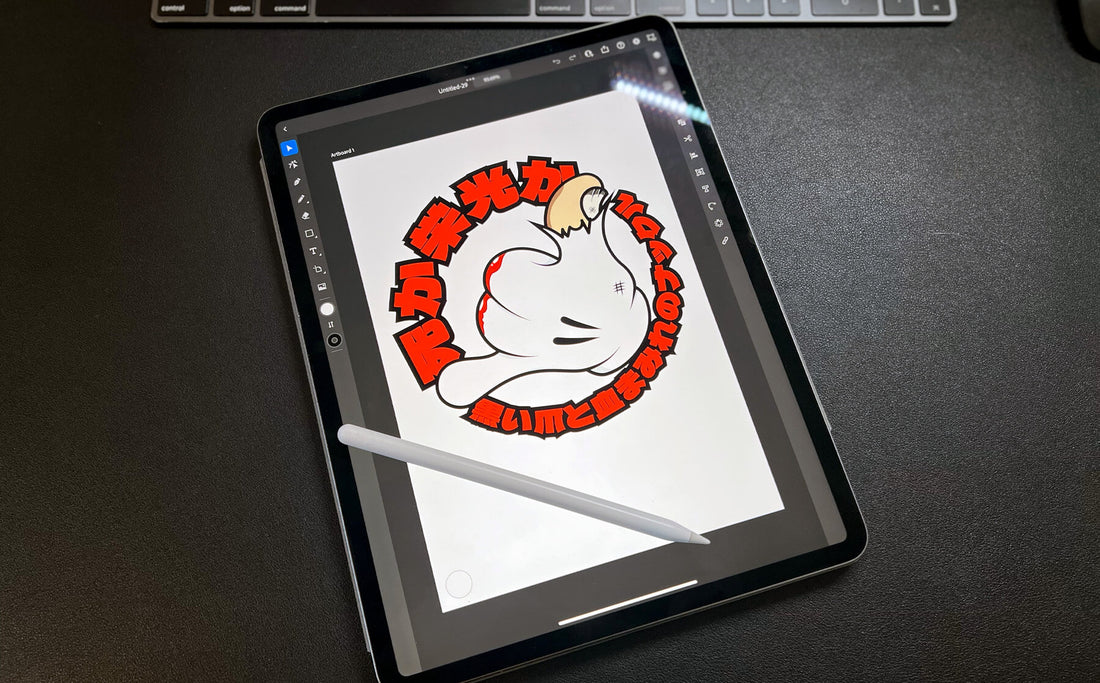
4. Lettering
Now that I have at least the main piece of the design finished, I need to decide what I'm going to do to finish it off, that could be adding a border, a background, lettering, the brand logo, or a combination of all of the above.
Generally, I would be working mostly on the laptop at this point as I have a large library of fonts, textures, custom brushes, and previous designs I can access easily from here.
Sometimes I will come up with a number of variations on a design at this point until I find one that I REALLY like.

As you can see there aren't really any great secrets to my design process, other than putting the time and effort in, sometimes the simplest design can take the longest to perfect, other times you'll get lucky and everything will fall into place first time.